Handle with Care: How to Change a uPVC Window Handle Like a Pro
Is your uPVC window handle loose, broken, or simply outdated? Replacing it is a quick and cost-effective DIY task that can improve both function and security. Whether you have a top-hung, side-hung, or tilt-and-turn window, changing a uPVC handle is easier than you might think. In this guide, we will walk you through the steps and answer common questions so you can complete the job with confidence.
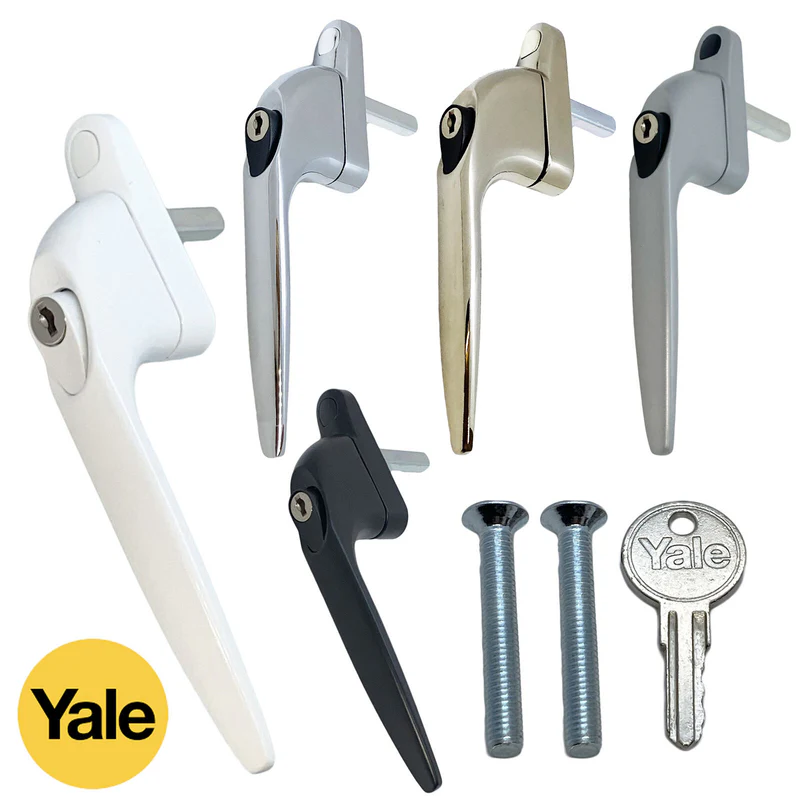
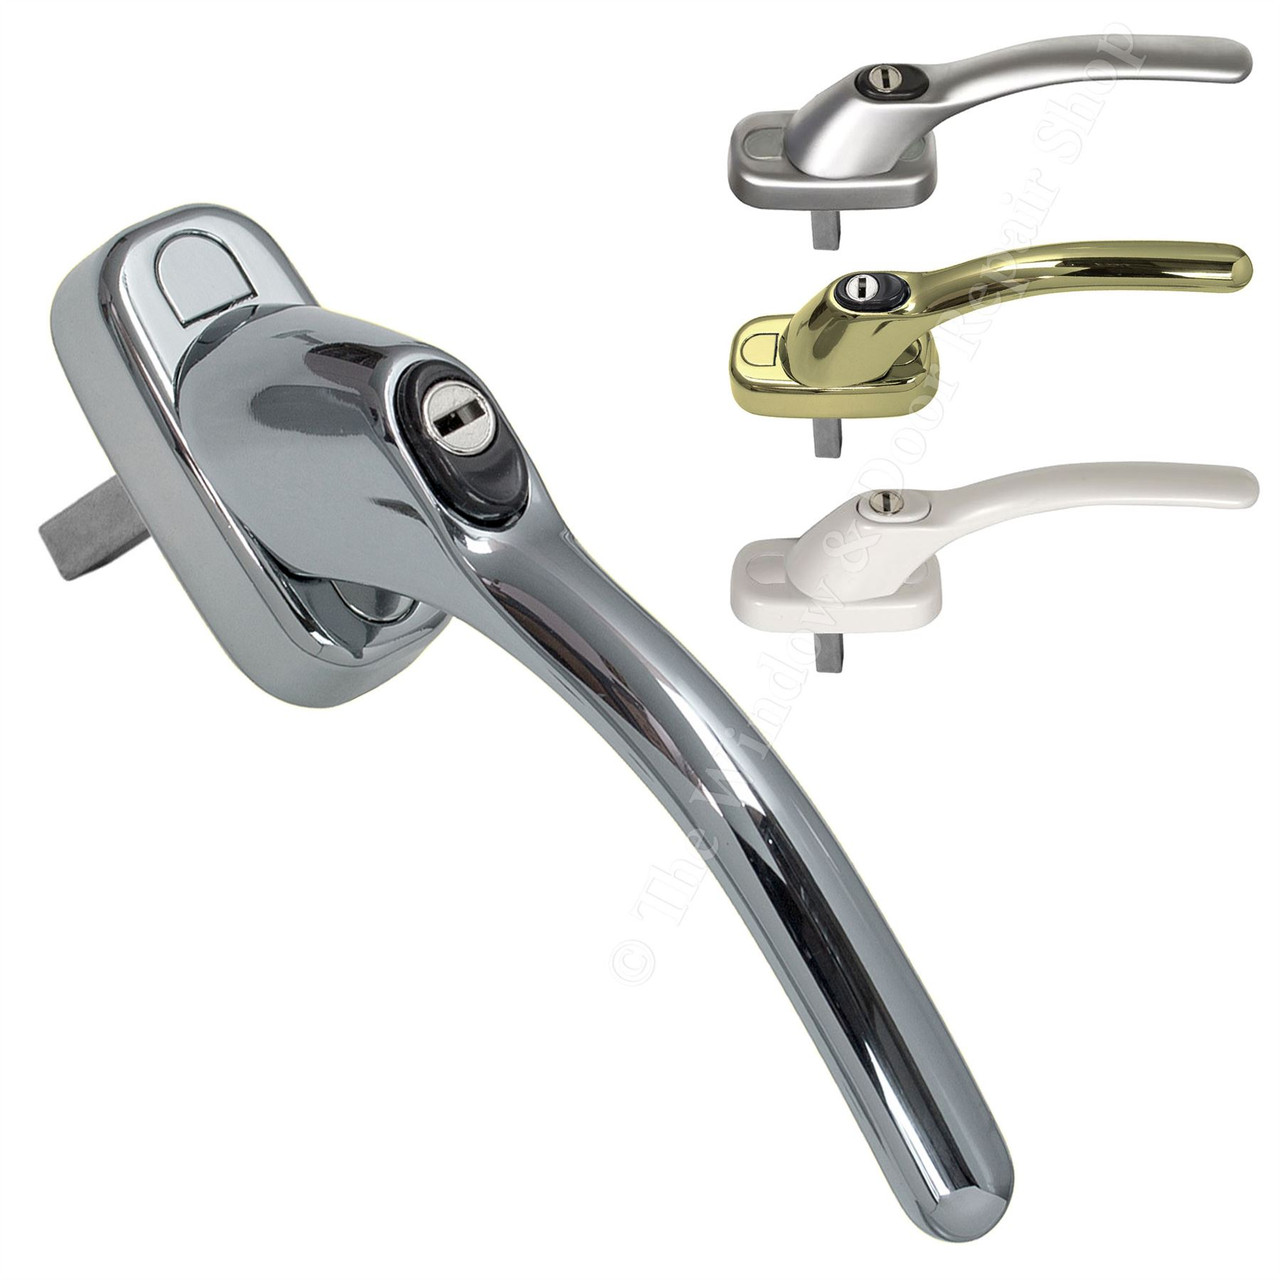
Espag Window Handle

Cockspur Window Handle
Tilt & Turn Window Handle
Why Replace a uPVC Window Handle?
There are several reasons you might need to change a uPVC window handle:
- The handle is broken or stiff
- The lock no longer works
- You want to update the style or color
- You need to upgrade to a locking handle for added security
Whatever the reason, replacement is usually straightforward and requires only basic tools.
Types of uPVC Window Handles
Before you start, it is helpful to identify the type of handle on your window. The most common types include:
Espag handles: The most common type, used with espagnolette locking mechanisms. Usually have a spindle on the back that fits into the lock.
Cockspur handles: Typically found on older windows. These have a hook that catches on a wedge block mounted on the frame.
Tilt and turn handles: Used on windows that open inwards for ventilation and cleaning. These usually have a unique spindle position and longer reach.
What Tools Do You Need?
Changing a window handle does not require specialist tools. All you will need is:
- A flathead or Phillips screwdriver
- A measuring tape or ruler
- A replacement handle (make sure it matches the type and size)
Step-by-Step: How to Replace a uPVC Window Handle
Step 1: Open the window
Open the window fully to give yourself easy access to the handle and screws.
Step 2: Remove the old handle
Most uPVC handles have a plastic cover or cap that conceals the screws. Use your fingernail or a flathead screwdriver to pop off the cover. Then, unscrew the two screws holding the handle in place. Gently pull the handle away from the window to remove it.
Step 3: Measure the spindle
The spindle is the square metal rod that sticks out from the back of the handle. Measure its length to ensure your new handle is a suitable replacement. Spindles typically range from 10mm to 50mm.
Step 4: Fit the new handle
Insert the new handle into the spindle slot, aligning it with the fixing holes. Insert and tighten the screws. Clip the cover cap back over the screw holes.
Step 5: Test the handle
Open and close the window several times to make sure the new handle works correctly. If it has a locking mechanism, test that the key turns easily and locks in place.
Tips for Choosing the Right Replacement Handle
- Always match the handle type (espag, cockspur, or tilt-and-turn)
- Measure the screw hole distance (usually 43mm for espag handles)
- Measure the spindle length
- Choose a finish that matches your window frame (white, chrome, black, brass, etc.)
Security Considerations
For ground-floor windows or windows that are accessible from the outside, use locking handles for added security. Most modern espag handles come with key locks that meet UK home insurance standards. Always keep the key in a safe place but not in the lock itself, especially on accessible windows.
When to Call a Professional
If the handle feels stiff even after replacement, the problem could be with the internal locking mechanism or the window alignment. In such cases, it is best to contact a qualified window technician or glazier to inspect and repair the unit.
Conclusion
Replacing a uPVC window handle is a quick and easy job that most homeowners can do themselves. With the right tools and a matching handle, you can improve the function and appearance of your windows in just a few minutes. Whether you are upgrading for security, style, or practicality, learning how to change a uPVC window handle can save you time, money, and hassle.